My Blog List

Tuesday 19 May 2020

What Is Rate Limiting?

What Is Rate Limiting?
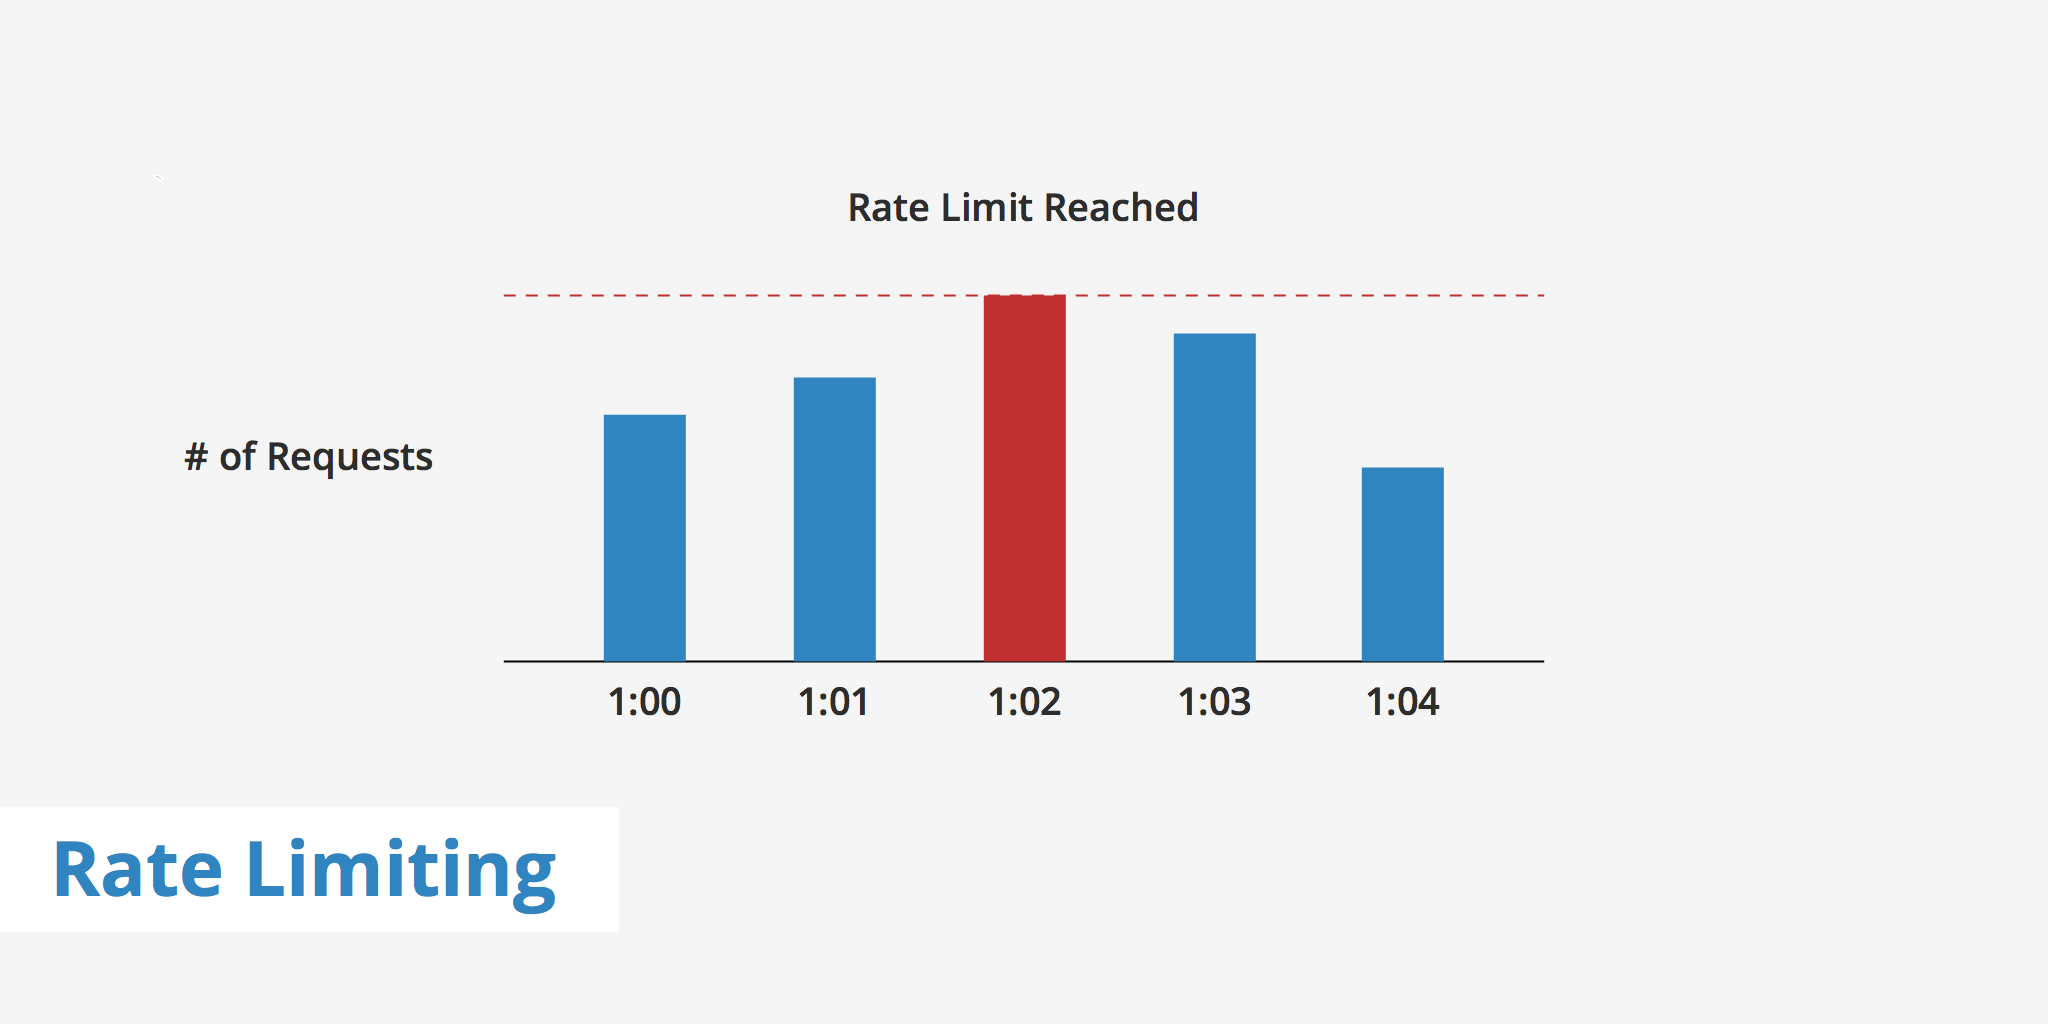
Rate limiting is used to control the amount of incoming and outgoing traffic to or from a network. For example, let's say you are using a particular service's API that is configured to allow 100 requests/minute. If the number of requests you make exceeds that limit, then an error will be triggered. The reasoning behind implementing rate limits is to allow for a better flow of data and to increase security by mitigating attacks such as DDoS.
Rate limiting also comes in useful if a particular user on the network makes a mistake in their request, thus asking the server to retrieve tons of information that may overload the network for everyone. With rate limiting in place however, these types of errors or attacks are much more manageable.
In this post, we'll be diving deeper into various types of rate limiting methods, implementation examples, and how rate limiting works in conjunction with KeyCDN.

Types of rate limits#

There are various methods and parameters that can be defined when setting rate limits. The rate limit method that should be used will depend on what you want to achieve as well as how restrictive you want to be. The section below outlines three different types of rate limiting methods that you can implement.
  1. User rate limiting: The most popular type of rate limiting is user rate limiting. This associates the number of requests a user is making to their API key or IP (depending on which method you use). Therefore, if the user exceeds the rate limit, then any further requests will be denied until they reach out to the developer to increase the limit or wait until the rate limit timeframe resets.
  2. Geographic rate limiting: To further increase security in certain geographic regions, developers can set rate limits for particular regions and particular time periods. For instance, if a developer knows that from midnight to 8:00 am users in a particular region won't be as active, then they can define lower rate limits for that time period. This can be used as a preventative measure to help further reduce the risk of attacks or suspicious activity.
  3. Server rate limiting: If a developer has defined certain servers to handle certain aspects of their application then they can define rate limits on a server-level basis. This gives developers the freedom to decrease traffic limits on server A while increasing it on server B (a more commonly used server).

Rate limit implementation#

There are various ways to go about actually implementing rate limits. This can be done at the server level, it can be implemented via a programming language or even a caching mechanism. The two implementation examples below show how to integrate rate limiting either via Nginx or Apache.

Nginx#

If you're using Nginx as your web server and would like to implement rate limiting at the server-level then you can take advantage of the module ngx_http_limit_req_module . This can be implemented directly within your Nginx configuration file. Using this method, Nginx rate limits based on the user's IP address.
http {
    limit_req_zone $binary_remote_addr zone=one:10m rate=2r/s;
    ...

server {
    ...
    location /promotion/ {
        limit_req zone=one burst=5;
    }
}
The snippet above allows not more than 2 request per second at an average, with bursts not exceeding 5 requests.

Apache#

Similarly, Apache users can also implement rate limiting within the Apache configuration file using more or less the same method as Nginx users. With Apache, the module mod_ratelimit must be used in order to limit client bandwidth. Throttling is applied to each HTTP response instead of being aggregated at the IP/client level.
<Location "/promotion">
    SetOutputFilter RATE_LIMIT
    SetEnv rate-limit 400
    SetEnv rate-initial-burst 512
</Location>
The values in the snippet above are defined in KiB/s. Therefore the rate-limit environment variable, used to specify the connection speed to be simulated is 400 KiB/s while the initial amount of burst data is 512 KiB/s.

Summary#

Rate limiting can be a great method to help fight against infrastructure attacks as well as block other types of suspicious activity. As mentioned, there are various methods you can use to implement rate limiting whether it be at the server level, user level, etc. If you are experiencing a 429 Too Many Requests error for a particular API you're working with, be sure to reach out to the developers or check their docs to verify what the rate limit is currently configured to and modify your usage to fit within those limits.

Sunday 17 May 2020

Simple tips to help you enjoy a secure online shopping experience :--

1: Choosing where you shop

If you’re making a purchase from a company or person you don’t know and trust, carry out some research first, and ask a friend or family member for advice before completing the purchase.

If you decide to go ahead with the purchase, use a credit card if you have one, as most major credit card providers insure online purchases. You will need to check your card's Terms and Conditions for exact details.


2: Keep your devices up to date

Make sure you install the latest software and app updates. These usually contain important security updates that can protect you against fraud and identity theft. 

Information can easily be found about how to install these updates from AppleMicrosoft and Google. Even better, just turn on automatic updates so your device will update itself in future.


3: Secure your email account

Use a strong, separate password and two-factor authentication (2FA) to secure your email account. Criminals can use your email to access other online accounts, such as those you use for online shopping.


4: Take care with links in emails and texts

Some of the emails or texts you receive about amazing offers may contain links to fake websites, designed to steal your money and personal details. 

Not all links are bad, but it's good practice to check by typing the shop’s website address manually into the address bar of your browser, or find the website through your search engine (e.g. Google, Bing).


5: Turn on two-factor authentication (2FA)

To give any online account additional protection, where possible, you should turn on two-factor authentication (2FA).

2FA is a way for the service you're using to double check that you really are the person you claim to be, when logging in.


6: Use a password manager

If you have lots of accounts, the temptation to re-use passwords and usernames is pretty strong. A good way to get around this is to use a password manager.

These systems remember all your login details for you, so you can choose good passwords for each of your online accounts, without worrying about losing or forgetting them. The only password you'll need is the one for the password manager application itself. This blog post will tell you all you need to know about password managers.


7: Don't give away too much information

You shouldn't need to give out your mother’s maiden name, or the name of your primary school, in order to buy something. There’s some obvious details that an online store will need, such as your address and your bank details, but be cautious if they ask for details that are not required for your purchase. 

Only fill in the mandatory details of forms  when making a purchase. These are usually marked with an asterisk*. If you can avoid it, don’t create an account on a new site unless you’re going to use that site a lot in the future. You can usually checkout as a guest to make your purchase.

8: When things go wrong

We all make mistakes and these days the scams can be incredibly convincing.

If you think you may have been taken in by a bogus website, you should first, take a note of the website's address, then close down your internet browser. Then report the details to Action Fraud and contact your bank to seek advice.

Whether you've been a victim of fraud will depend on how much information you’ve provided to the website. So keep an eye on bank transactions, if you can. Contact your bank immediately about anything that you don’t recognise, even small amounts.

Thursday 28 July 2016

CRUD in AngularJS With PHP

                  Hi. Already we created a posts for Perfect Validation & Speech Recognition If you missed that check it .  

                             Here, we are going to see the CRUD operations in AngularJS with PHP. Normally we know that operations in PHP. That contains more code and it loads the whole page for the every single process. In the OOP concept by using MVC pattern we can do this oprations in back-end. In the AngularJS we can use the MVC pattern in front-end itself. 

                By using AngularJS we can create this CRUD operations in a single page and it will be more efficient than a normal backend process. In this process we are using Model(Business Logic or DB Queries) only in PHP. 

               In AngularJs we can use the controllers to pass the data to PHP. so we are having the advantage of reusability .
Here am attached the source code for your convenience. 

Preview: 


Let's go to the coding part :

1.Html Code 

<h1>Insert Update Delete</h1>
<div ng-controller="Register">
<form >
  <div class="form-group">
    <label for="exampleInputEmail1">Email address</label>
    <input type="email" class="form-control" id="exampleInputEmail1" placeholder="Email"name="Email" ng-model="Email"  ng-disabled="obj.idisable"  >
  </div>
  <div class="form-group">
    <label for="exampleInputPassword1">Password</label>
    <input type="text" class="form-control" id="exampleInputPassword1" placeholder="Password" name="password" ng-model="password" >
  </div>

  <button type="submit" value="{{btnName}}" class="btn btn-default" ng-click="insert_data()">{{btnName}}</button>
</form>

<table  class="table table-condensed">
    <thead>
      <tr>
        <th>s_id</th>
        <th>Email</th>
        <th>Password</th>

      </tr>
    </thead>
    <tbody>
      <tr ng-repeat="Detail in Details" >
      <td>{{Detail.s_id}} </td>
        <td>{{Detail.Email}}</td>
        <td>{{Detail.password}}</td>
        <td><button type="button"  class="btn btn-danger" ng-click="delete_data(Detail.s_id);" >Delete</button></td>
         <td><button type="button"  class="btn btn-danger" ng-click="edit_data(Detail.s_id,Detail.Email,Detail.password);" >Edit</button></td>
      </tr>
      
    </tbody>
  </table>
</div>


2.Controllers

//Insert Controller

$scope.insert_data=function(){
$http.post("Server/insert.php",{'Email':$scope.Email,'password':$scope.password,'btnName':$scope.btnName})
.success(function(){
$scope.msg="Data Inserted";
$scope.display_data();

})
}

//Delete Controller
$scope.delete_data=function(s_id){
$http.post("Server/delete.php",{'s_id':s_id})
.success(function(){
$scope.msg="Data Deleted";
$scope.display_data();

})
}


//Update Controller

$scope.obj={'idisable':false};
$scope.btnName="Insert";
$scope.edit_data=function(s_id,Email,password){
$scope.s_id=s_id;
$scope.Email=Email;
$scope.password=password;
$scope.btnName="Update";
$scope.obj.idisable=true;
$scope.display_data();
}

//Display Controller
$scope.display_data=function(){
$http.get("Server/fetch_data.php").success(function(response){
$scope.Details=response;
});

}


3. PHP File:

Connection for DB :
<?php
mysql_connect("localhost","root","123");
mysql_select_db("rajkumar");

?>
Insert.PHP
<?php
include("connection.php");
$data=json_decode(file_get_contents("php://input"));


$btnName=mysql_real_escape_string($data->btnName);
if($btnName=='Insert'){
$Email=mysql_real_escape_string($data->Email);
$password=mysql_real_escape_string($data->password);

mysql_query("INSERT INTO register(`Email`, `password`)VALUES('".$Email."','".$password."')");
}


else{
$Email=mysql_real_escape_string($data->Email);
$password=mysql_real_escape_string($data->password);
mysql_query("UPDATE register SET password='".$password."' WHERE   Email='".$Email."'"); 


}

?>

Delete.PHP

<?php
include("connection.php");
$data=json_decode(file_get_contents("php://input"));
$s_id=$data->s_id;
mysql_query("DELETE FROM register WHERE s_id='".$s_id."' ");
?>

Fetch.php

<?php
include('connection.php');

$sql=mysql_query("SELECT s_id,Email,password FROM register");
if(mysql_num_rows($sql)){
$data=array();
while($row=mysql_fetch_array($sql)){
$data[]=array(
's_id'=>$row['s_id'],
'Email'=>$row['Email'],
'password'=>$row['password']
);
}
header('Content-type: application/json');
echo json_encode($data);
}
?>


4.Database File:

Rajkumar.SQL

-- phpMyAdmin SQL Dump
-- version 4.2.11
-- http://www.phpmyadmin.net
--
-- Host: 127.0.0.1
-- Generation Time: Jul 28, 2016 at 10:13 PM
-- Server version: 5.6.21
-- PHP Version: 5.6.3

SET SQL_MODE = "NO_AUTO_VALUE_ON_ZERO";
SET time_zone = "+00:00";


/*!40101 SET @OLD_CHARACTER_SET_CLIENT=@@CHARACTER_SET_CLIENT */;
/*!40101 SET @OLD_CHARACTER_SET_RESULTS=@@CHARACTER_SET_RESULTS */;
/*!40101 SET @OLD_COLLATION_CONNECTION=@@COLLATION_CONNECTION */;
/*!40101 SET NAMES utf8 */;

--
-- Database: `rajkumar`
--

-- --------------------------------------------------------

--
-- Table structure for table `register`
--

CREATE TABLE IF NOT EXISTS `register` (
`s_id` int(11) NOT NULL,
  `Username` varchar(200) NOT NULL,
  `Email` varchar(200) NOT NULL,
  `password` varchar(300) NOT NULL
) ENGINE=InnoDB AUTO_INCREMENT=15 DEFAULT CHARSET=latin1;

--
-- Indexes for dumped tables
--

--
-- Indexes for table `register`
--
ALTER TABLE `register`
 ADD PRIMARY KEY (`s_id`);

--
-- AUTO_INCREMENT for dumped tables
--

--
-- AUTO_INCREMENT for table `register`
--
ALTER TABLE `register`
MODIFY `s_id` int(11) NOT NULL AUTO_INCREMENT,AUTO_INCREMENT=15;
/*!40101 SET CHARACTER_SET_CLIENT=@OLD_CHARACTER_SET_CLIENT */;
/*!40101 SET CHARACTER_SET_RESULTS=@OLD_CHARACTER_SET_RESULTS */;

/*!40101 SET COLLATION_CONNECTION=@OLD_COLLATION_CONNECTION */;


Download Here : Click me

   These type of code is lightweight than normal PHP code. It contains very less(370KB) In size. 

Thank you..! Have a nice Day..!

Wednesday 20 July 2016

Speech Recognition Module

          Hi Friends. Till now, We saw the various type of validation in the previous posts. Here comes the most interesting part that you will enjoy for sure. That's the speech recognition that works on any languages has, no dependencies and its just 2KB in size.


                               Its a simple small java script library that lets your users can control your site with their voice commands,
It works perfect on all updated browsers that support speech recognition.  Now let's try something for real, Here we will see how to create a ToDoList App step by step,


Step1:

                 It runs only on the server. so you have to install the server on your system.

Npm users:    npm install http-server -g


Alternative : It works on servers like XAMPP & WAMP Etc.

Step2:

You have to enable the pop-ups


//Click to Access your microphone


//Click to allow

Let's go to the coding part :

1.Install AngularJS And  annyang JS

          For NPM users,
                1. npm install angularjs -g
                2. npm install annyang -g

      others,

          1. Angularjs
           2. Annyang 

2.Add Library Files


<script type="text/javascript" src="Lib/angular.min.js"></script>

<script type="text/javascript" src="Lib/annyang.min.js"></script>

        
3.Body


<div  ng-controller="ToDoController">

<form name="frm" ng-submit="addTodo()">
  <div class="form-group">
   <label for="exampleInputNewItem">Say NewItem</label>

    <input type="text" class="form-control" id="exampleInputEmail1"  ng-model="newTodo" name="newtodo" >

  </div>

<button ng-disabled="frm.$invalid" class="btn btn-success">Go</button>


</form>
<br>

<button ng-click="clearselected()"  class="btn btn-danger">     Clear selected 
</button>

<ul>
<li ng-repeat="todo in todos">

<input type="checkbox" ng-model="todo.done">
<span ng-class="{'done':todo.done }">
{{$index+1}}  {{todo.title}}
</span>
</li>
</ul>

</div>


4.Javascript File


<var myApp=angular.module("myApp",[]);

//Creating a TODo

myApp.controller('ToDoController',['$scope',function($scope){
$scope.todos=[

{ 'title':'This is rajkumar',
 'done' :false
}
];

$scope.addTodo=function(){
$scope.todos.push(
{
'title':$scope.newTodo,
'done':false
});
$scope.done="";

};

$scope.clearselected=function(){
$scope.todos=$scope.todos.filter(function(item){
return !item.done
})

};

//Voice command 

var commands={
'new item *val' : function(val){
$scope.newTodo=val;
$scope.addTodo();
$scope.$apply();
},

'check number *val' :function(val){
$scope.todos[parseInt(val)-1].done=true;
$scope.$apply();
},
'remove number *val':function(val){
$scope.todos.splice(parseInt(val)-1,1)
$scope.$apply();
},

'clear Selected':function(){
$scope.clearselected();
$scope.$apply();
},

}
annyang.addCommands(commands);
annyang.debug();
annyang.start();

}]);


                     By using this script, you can navigate through any other pages by the voice commands easily. Also you can control the various functionalities.  

 How it works?

1.say New Item "Anything"  It will be any word that gives some meaning.

2. say Check Number 'any number that are in the list' 

3. say Remove Number 'any number that are in the list'

4. say check number 'any number that are in the list' &  say Clear Selected to delete the selected iteams.


Thank You..! Have a nice Day